Benna Su.
1.Using Ocsilloscope
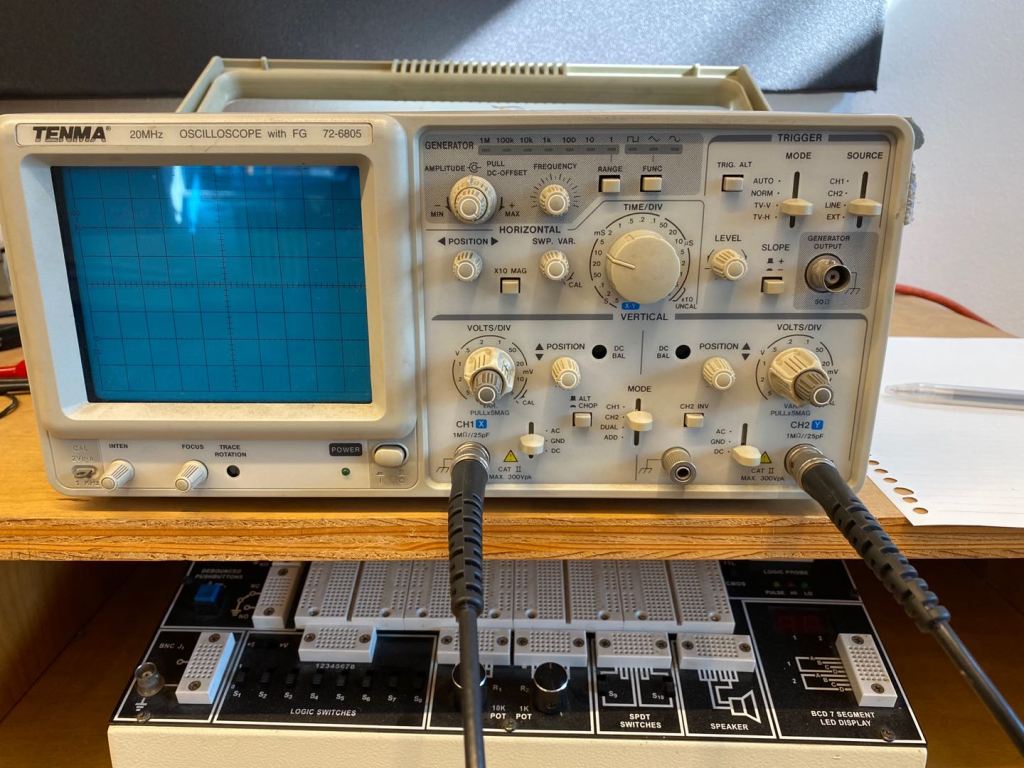
So as you can see, there are basically four sections in an oscilloscope. The first thing you have to do is to connect the probs to your circuit, left is channel one and right is channel 2. On the bottom, there are two channels, which channel 1 on the left side and channel 2 on the right side.There are two knobs says volts Div, it means voltage division. So when the wave appears on screen, if you change the voltage division, it actually change the units between each line. For example, if you set up 0.5, it means that two boxes or two lines will be 1 unit.And every time you use the volts div, you have to make sure the little knob on top has to be all the way to the right.The little knob called position can adjust the position vertically on the screen. And for sure, we use DC power to measure our waveform. On the middle, you can switch channel to 1 or 2 or duel.On the Top side, there is a huge time division knob. It is actually used to control the distance between each wave, if you set up time division to higher level, there will be less wave appearing on the screen. On the top left corner, the amplitude know is just for controlling the distance between the highest point of wave and the lowest point of waves. On the up right corner, that is an important section called trigger section. So it means it triggers the source and appears the waveform. We usually adjust the Mode to Auto. And Of course, you can adjust the level for the appearance of the waveform.
2. Three videos for using three different Ocsilloscope.
When I turn the potentiometers , one of the waves gradually become a horizontal line. It is probably there are less or more voltage going through that circuit during that point.
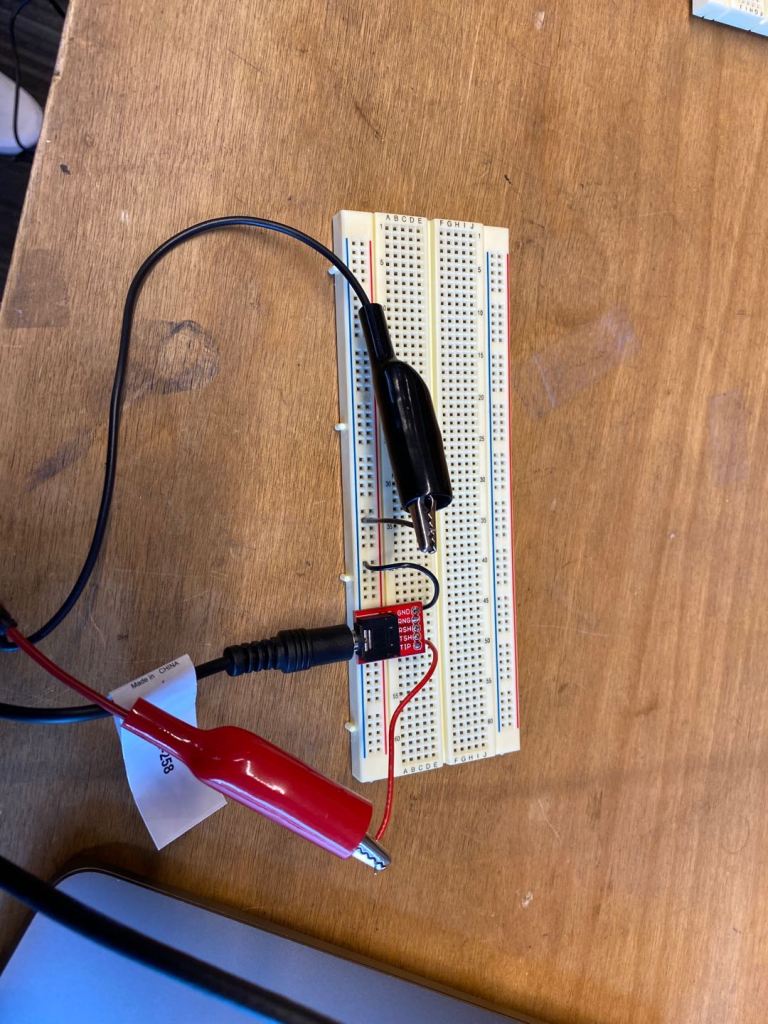
3.Trouble shooting!
Last time I soldered for my small audio thing, it did not go well. I should let the tip touch the iron for little more time and let the iron flow into the holes.
